
DIY Air Filter Replacement: A Step-by-Step Guide


Changing your air filter is a simple yet essential task that can significantly improve the air quality in your home. Not only does it help maintain the efficiency of your HVAC system, but it also ensures that you and your family are breathing clean air. In this guide, we'll walk you through each step to replace your air filter like a pro.
Why Replace Your Air Filter?
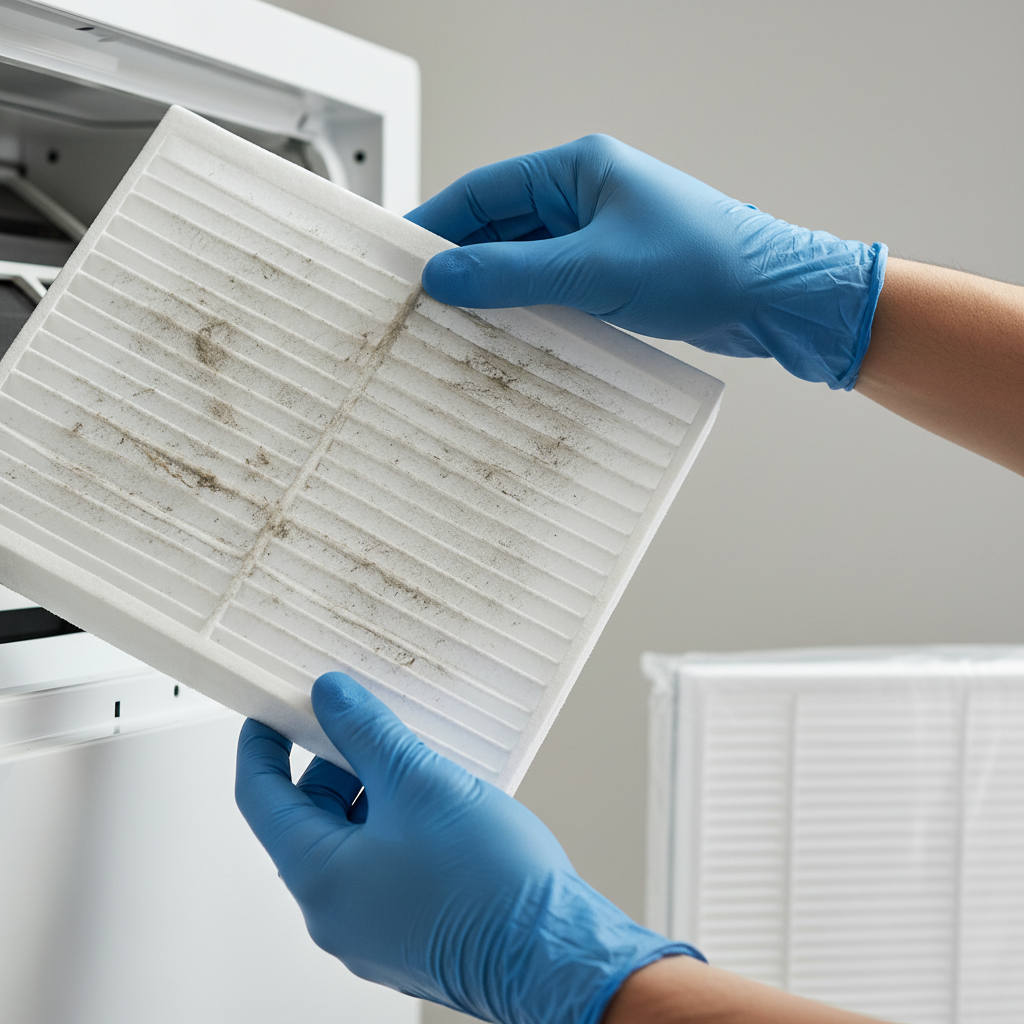
Air filters play a crucial role in trapping dust, pollen, and other airborne particles. Over time, these filters become clogged, reducing their efficiency. A dirty filter can lead to an overworked HVAC system, potentially increasing energy bills and causing damage. Regularly replacing your air filter can prevent these issues and prolong the life of your system.
Gathering the Necessary Tools
Before you begin, make sure you have the right tools and materials. Fortunately, replacing an air filter requires minimal equipment. Here's what you'll need:
- A new air filter (ensure it's the correct size for your system)
- A screwdriver (if necessary, depending on your system)
- A vacuum cleaner or cloth for cleaning the filter area
Step-by-Step Guide to Replacing Your Air Filter
Step 1: Turn Off Your HVAC System
Safety first! Make sure to turn off your HVAC system before you start. This prevents any debris from being sucked into the system while you're replacing the filter.
Step 2: Locate the Air Filter
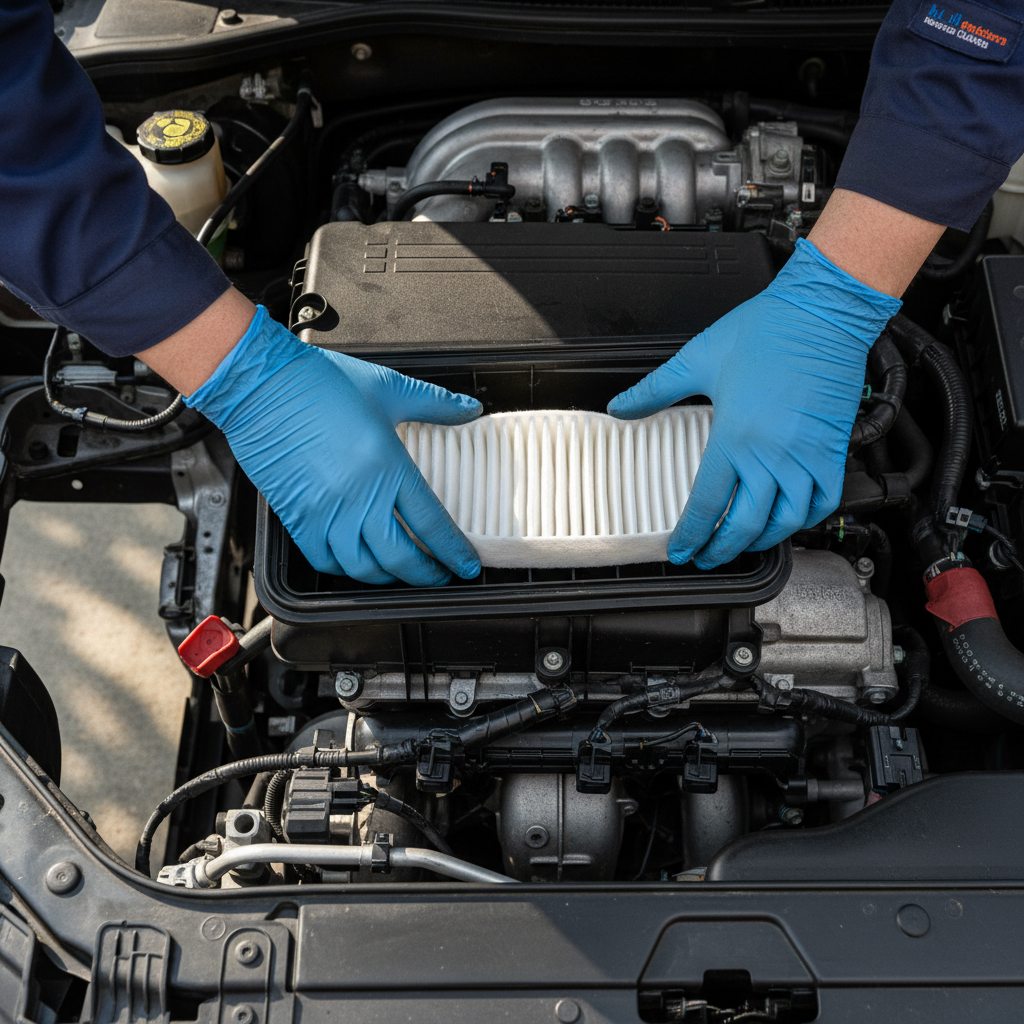
The air filter is usually located in one of three places: behind a return air grille on a wall or ceiling, inside the blower compartment of the furnace, or in a slot on the side, bottom, or top of your furnace. Check your HVAC manual if you're unsure.
Step 3: Remove the Old Filter
Carefully remove the old filter. Take note of the direction of the airflow arrows printed on the filter's frame. This is crucial for installing the new filter correctly. Dispose of the old filter properly.
Step 4: Install the New Filter
Insert the new filter, ensuring that the airflow arrows point in the correct direction. A properly installed filter should fit snugly without forcing it into place. This ensures optimal performance.
Step 5: Turn Your System Back On
Once the new filter is secure, turn your HVAC system back on. Enjoy the benefits of cleaner air and a more efficient system!
Maintaining Your Air Filter
To maintain optimal air quality and system efficiency, check your air filter monthly and replace it every 1-3 months, depending on your household's needs. Homes with pets or allergy sufferers may require more frequent changes.
By following these simple steps, you can ensure a healthier home environment and extend the life of your HVAC system. Happy DIY-ing!